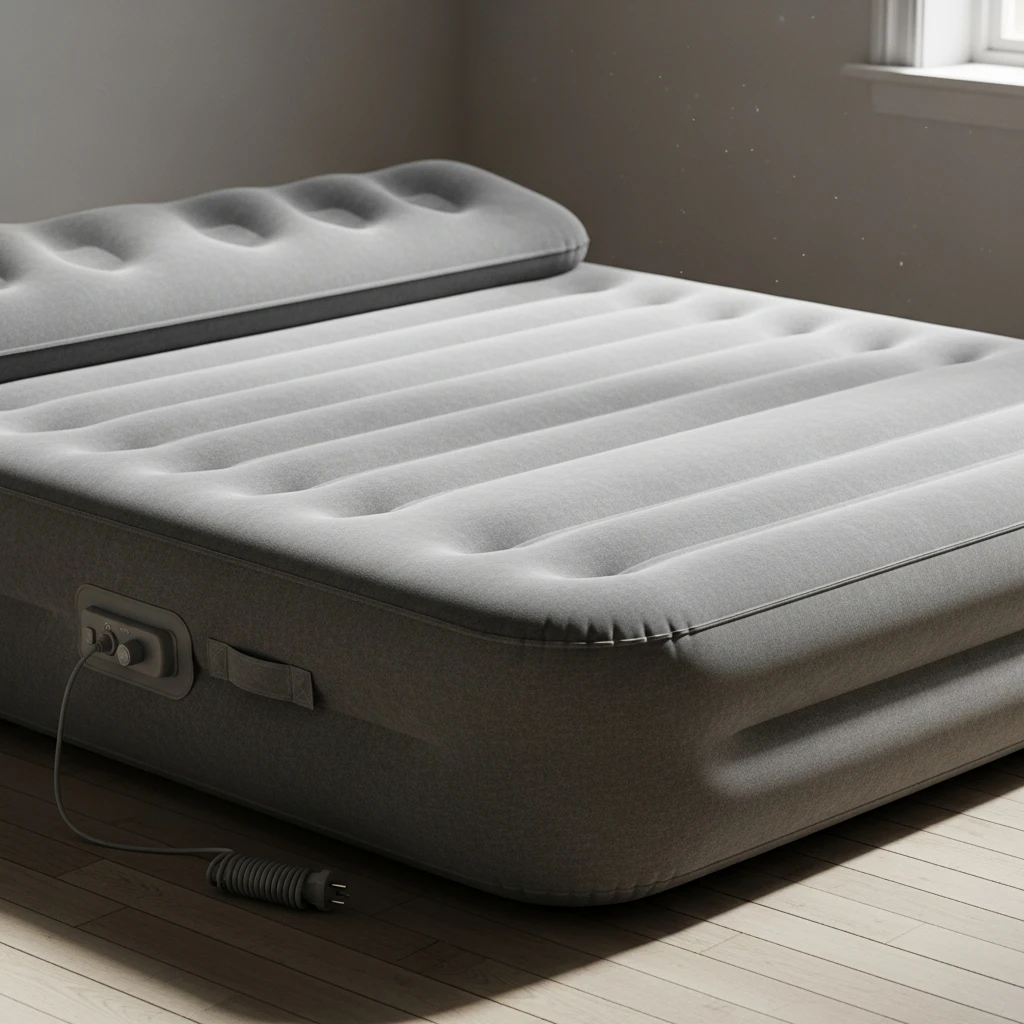
You inflate your air mattress, go to sleep, and wake up on the floor. It is one of the most frustrating things to happen and one of the easiest when you know how to fix it. This guide helps you through everything from finding the hole to patching it and making sure it actually holds.
Why do air mattresses get holes?
Most holes don’t come from dramatic punctures. Common causes include sharp objects, pet claws, excessive weight, and general wear and tear over time, with seams and valves being particularly sensitive.
Temperature drops overnight also cause air to contract, making a small leak feel much worse by morning. The valve is the first place to check and most commonly missed. The best-case scenario is that the valve cap is not tightened completely. Valve issues beyond that usually require manufacturer repair.
Step 1: Inflate fully and start looking

Inflate the mattress until it becomes very firm; then high pressure pushes out air faster, making it harder to hear hissing or feel air escaping. Lay it flat on a clean surface with access to all four sides.
Check the valve first. Hold your hand next to it and feel for escaping air. Listen for hissing. A loose valve cap is often the entire problem and easiest to fix on the list.
Step 2: Find the hole
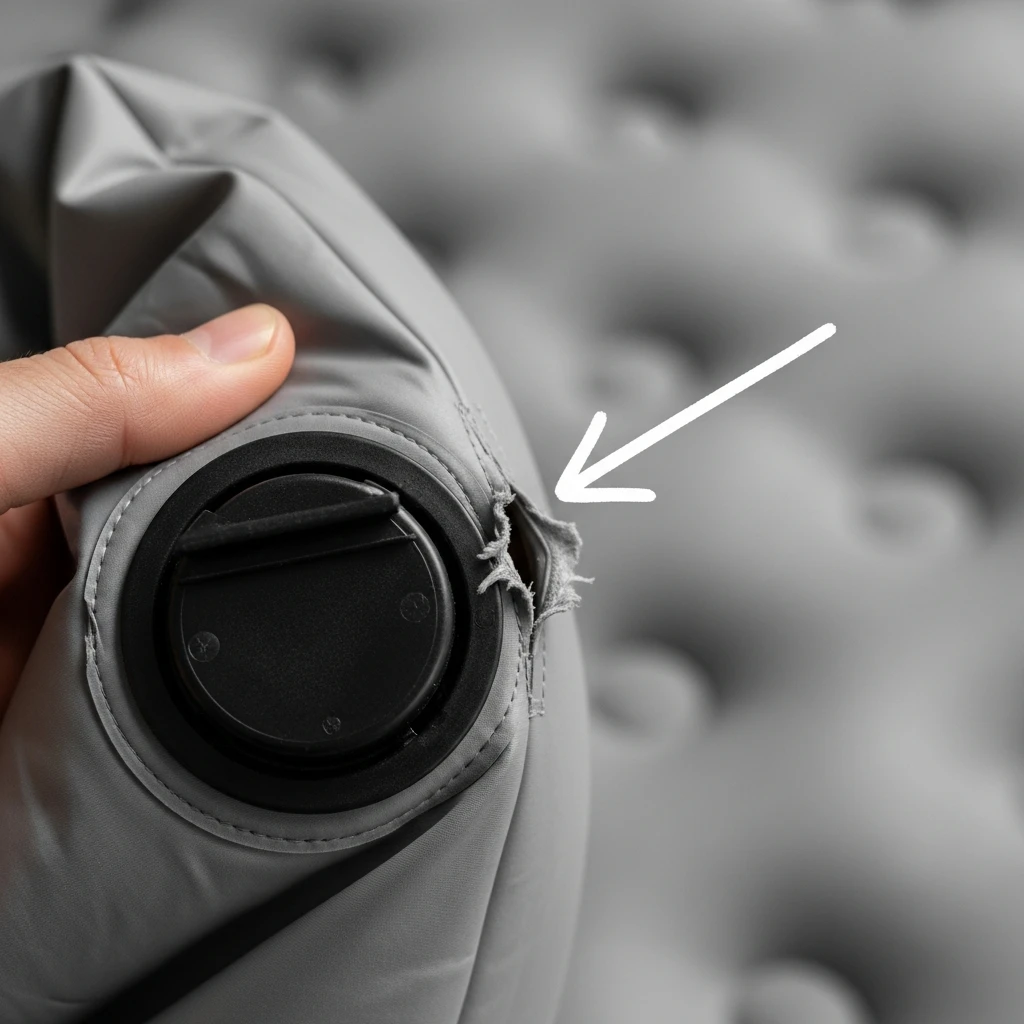
Run your hand across the whole surface. Start with the bottom, as it is the most common place for holes to appear, then work across all sides and seams. Press gently on sections to force air outward. Listen closely for faint hissing.
Method 2: Wet hand trick
Put some water on the back of your hand. The skin’s thin, sensitive layer of water makes escaping air much easier to detect because air movement easily evaporates the water, creating a very noticeable cooling sensation. This mainly works on holes too small to hear.
Method 3: Soapy water
Mix Dish Soap with warm water in a spray bottle. Spray systematically on the entire surface. Watch for areas where bubbles start to form, as they indicate air escaping from the mattress, and pinpoint the exact location of the leak. When bubbles appear, mark their exact location with a marker because they disappear very quickly.
Step 3: Prepare the surface
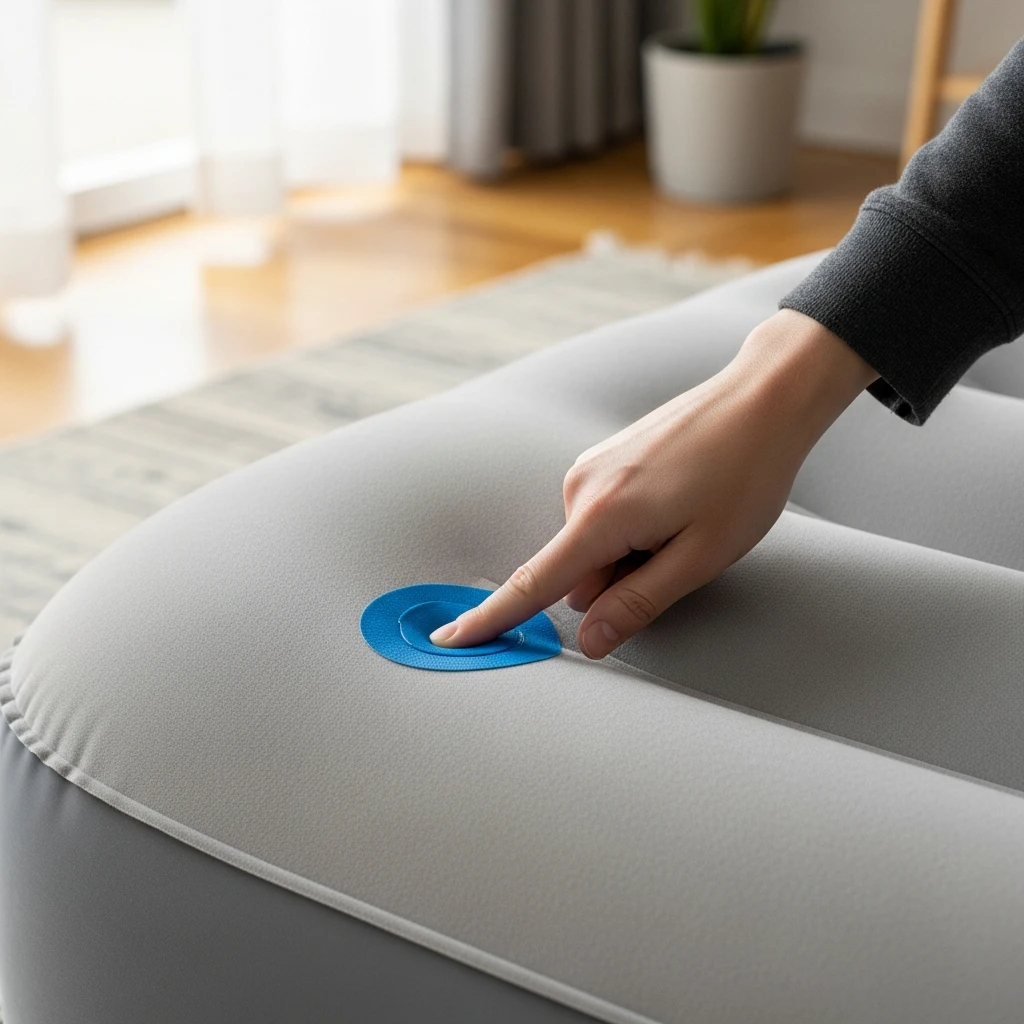
This is the step most people skip and the reason why patches fail. Deflate the mattress completely. Wipe the area clean with a damp cloth and mild soap. Sand the entire area that the sealant and patch will cover with super-fine sandpaper. This slightly roughens the surface and dramatically improves patch adhesion. Dry completely before touching the patch. A patch on a clean, lightly dry-sanded surface holds for years. A patch on a dirty and damp surface peels within days.
Step 4: Patch the hole
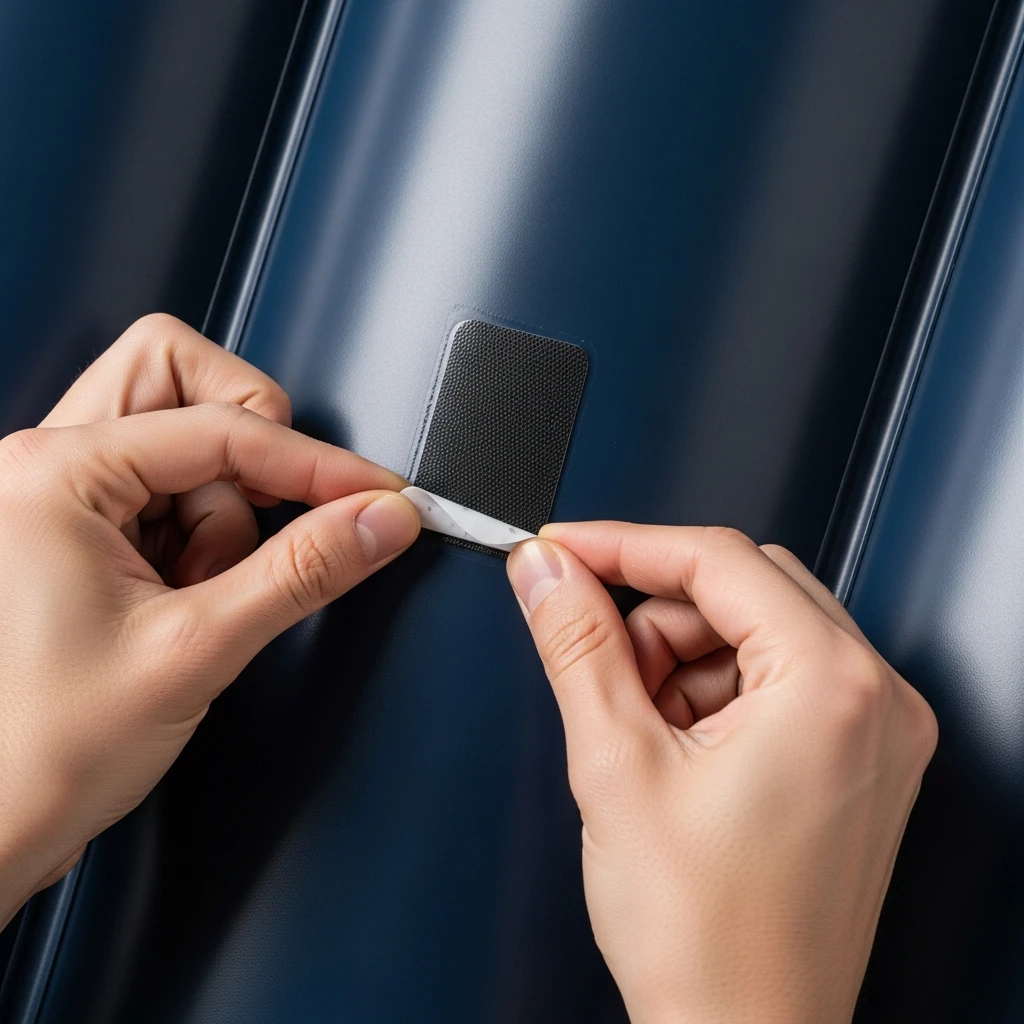
Self-adhesive patch: Cut the patch at least 1 inch larger on every side, and use scissors to make the patch round. This will help the patch stay longer. Peel the backing and place the center over the hole.
Press firmly for 30 seconds and wait 30 minutes before inflating.
Non-adhesive patch with PVC glue:
Apply PVC glue evenly to one side of the patch and press it over the hole for 30 seconds. Follow the curing instructions on the glue. Keep in mind that rushing this step is the most common reason for repair failure.
Emergency Fix: No kit available
Duct tape temporarily seals the hole in a time crunch but loses adhesion quickly as the mattress flexes. Replace with a proper patch as soon as possible.
Step 5: Test the repair
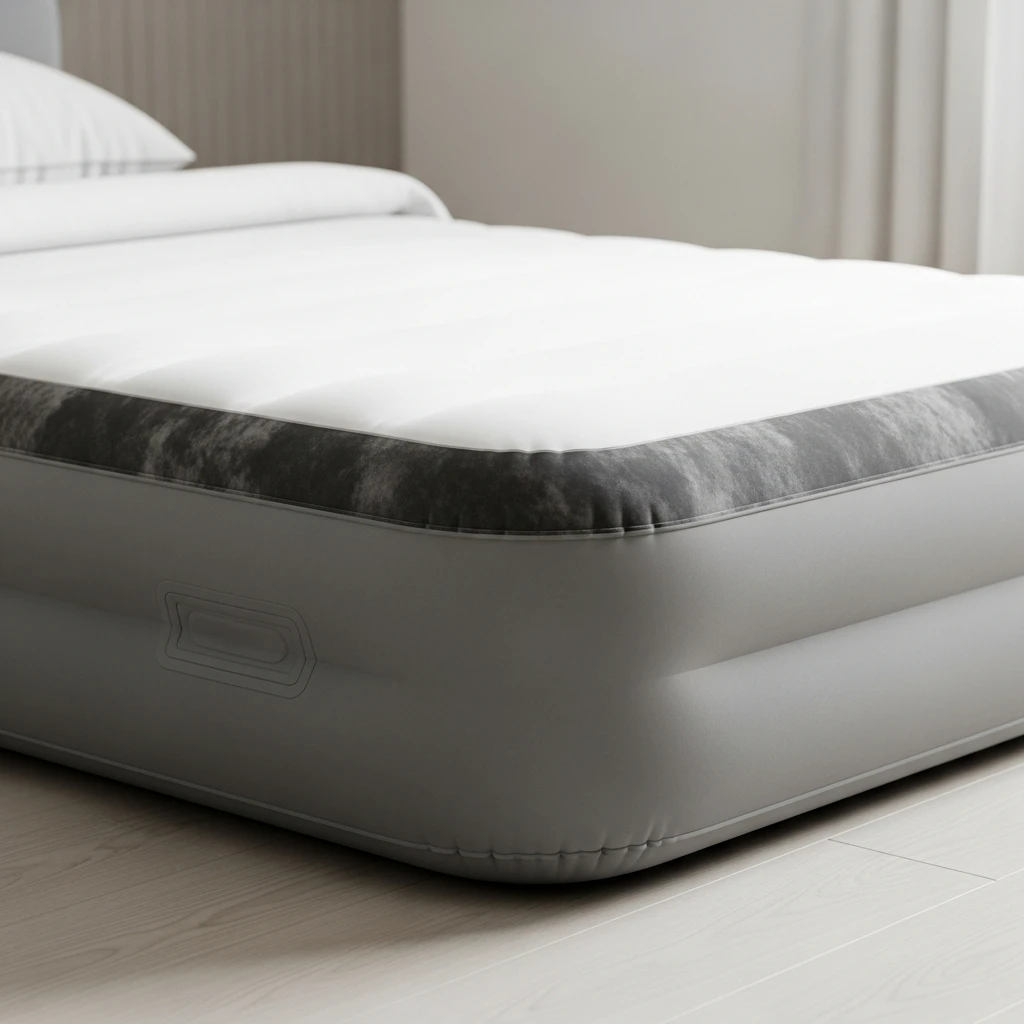
Inflate the mattress again, then repeat the soapy water method on the patched area. No bubbles at the patch edges mean the repair is complete. Bubbles appearing on the edges mean the seal is incomplete. Deflate and add additional adhesive around the perimeter before testing.
What to do if air keeps leaking even after patching?
If the seal is not leaking but the mattress continues to deflate, there is another hole or damaged area somewhere else. Return to Step 2 and repeat the full inspection. If multiple leaks keep appearing in different locations, the mattress material itself is failing, and replacement is the more practical solution.
Seam repairs deserve a special mention. Seam repairs require a flexible sealant applied along the entire seam, not just the affected section, with an additional patch layer for reinforcement. Standard patches rarely hold on seam damage long term.
Prevention: So don’t end up here
- Clear the ground of all debris before laying out the mattress.
- Use a groundsheet between the mattress and the floor.
- Never overinflate, as it stresses seams and valves.
- Store loosely rolled rather than tightly folded.
- Allow the mattress to dry completely before storage to prevent it from getting wet.
Conclusion
A hole in an air mattress is a 30-minute problem when handled correctly. Find the hole with soapy water, prepare the surface properly, apply the patch with patience, and test the repair before sleeping on it. The patch that holds for years is the one applied to a clean, dry, and sanded surface, not the one applied in a hurry at midnight. Do it right the first time so your air mattress can go back to doing its only job well.
Frequently Asked Questions
How do I fix a hole in an air mattress without a patch kit?
Duct tape applied firmly over the hole works as a temporary overnight fix. For a more permanent DIY option, a bicycle tire repair kit uses the same materials as an air mattress patch kit and works just as effectively.
Why does the air mattress keep deflating even after I patched it?
The entire patch has not sealed properly at the edges, or there is another hole elsewhere. Repeat the soapy-water inspection across the entire mattress surface. Also check the valve; a damaged valve stem lets air escape steadily and cannot be patched.
Can I fix a leak on the air mattress?
Yes, but it requires a different approach. Apply a flexible sealant along the entire affected seam rather than a single patch. Reinforce with an additional patch layer on top. Seam repairs are less reliable than surface repairs and often indicate the mattress is nearing the end of its useful life.
How long does an air mattress patch last?
A properly applied patch on a clean, dry, lightly sanded surface using the correct adhesive lasts for years. Surface preparation is the single biggest factor in patch longevity.